Latex texture sheet
Photo tutorial showing how to use latex to create soft flexible texture sheets. You can make texture sheets from fabric, existing texture sheets your have purchased, or from cured texture plates that you have crafted yourself

You will need:
Tile to work on
Liquid Latex; Scrap clay; A water spray; A pipette; Corn starch; Needle tool; Toothpick; Tissues
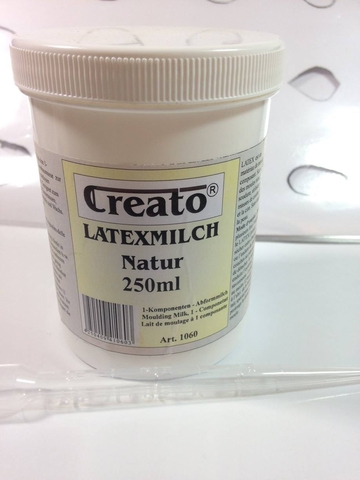
I use Creato Latexmilch I purchase this from Germany via an online auction site. One pot will make 10 to 12 10x15 cm texture sheets
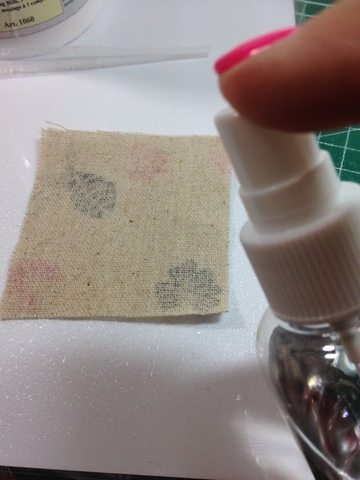
Step one condition your scrap clay, to the No3 setting of your pasta machine. If you are using fabrics, spray the fabric with water to act as a release agent.
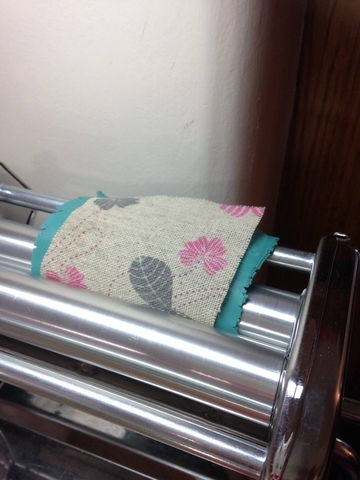
Roll the fabric and clay through the pasta machine on a no 3 setting (Atlas Machine)
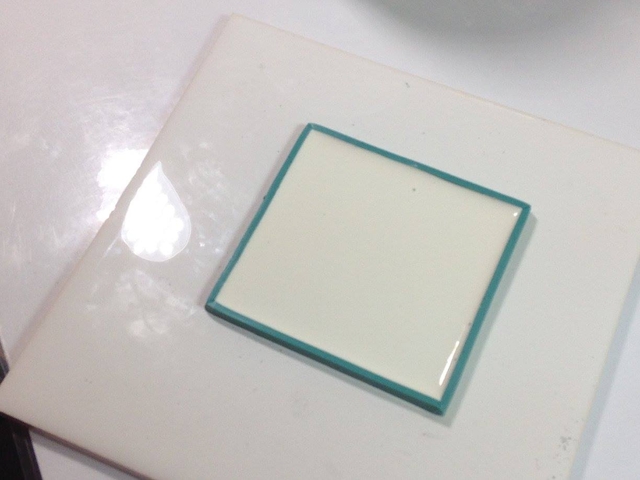
Carefully peel back the fabric. Cut a clean rectangle around the clay and put onto a small ceramic or glass tile.
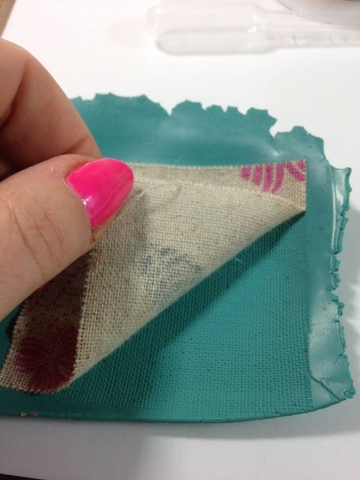
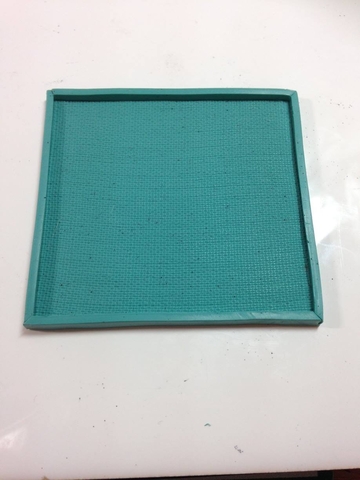
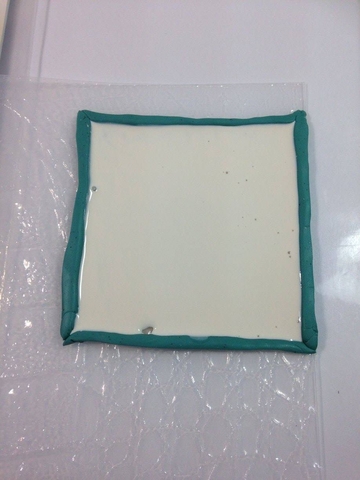
Use the excess scrap clay to frame your clay texture. At this point you can cure the clay should you wish to; however, I prefer to use the raw clay as you get a clearer imprint from the clay, in the curing process you can get unevenness and air bubbles so that is why I use raw clay.
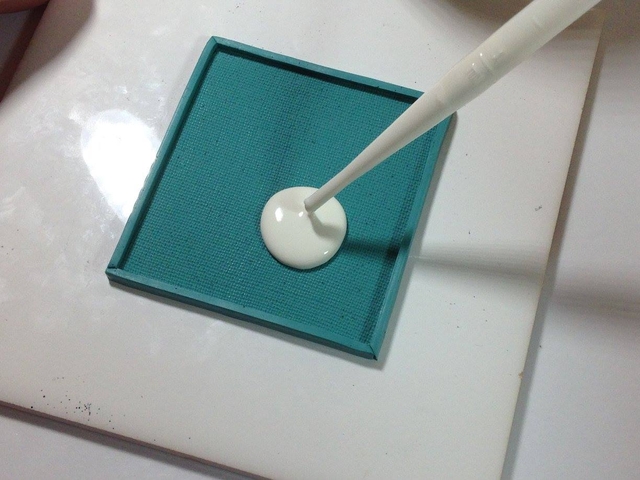
Using a pipette load with latex

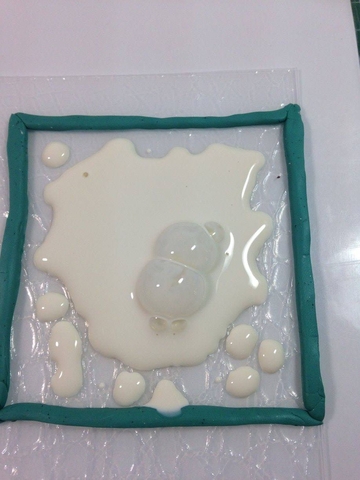
Slowly fill the frame with the latex, try to avoid a quick squeeze as this is a sure way to get bubbles in your latex
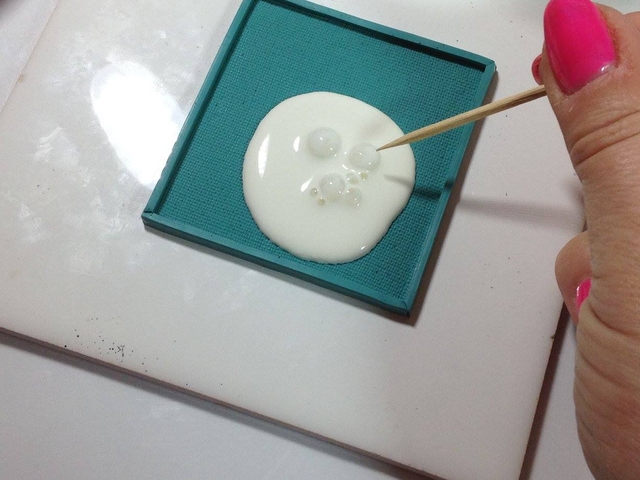
Ooops Bubbles...
I did this to show you how to remove them!
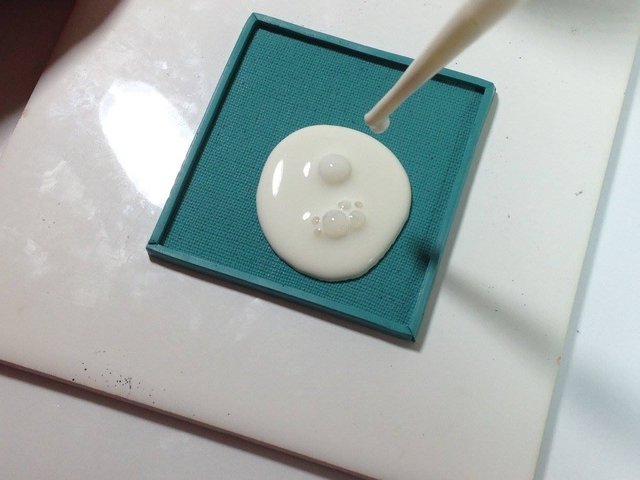
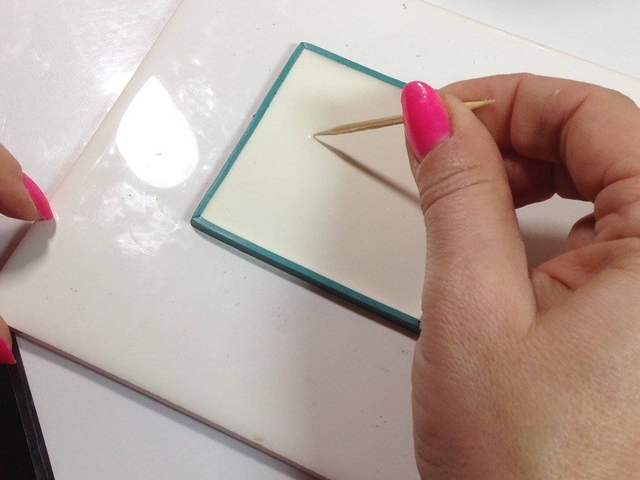
Take a cocktail stick and pop the bubbles, wipe the end of the stick between pops otherwise the latex builds on the end of the stick making popping less effective
Last few bubbles.
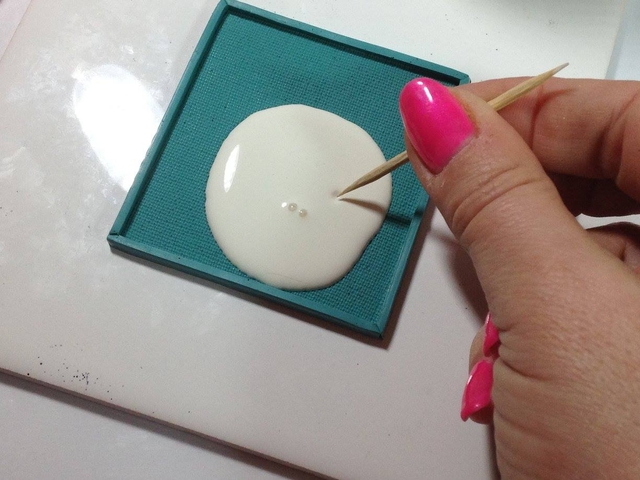
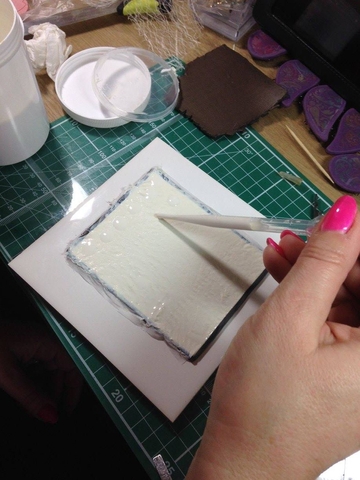
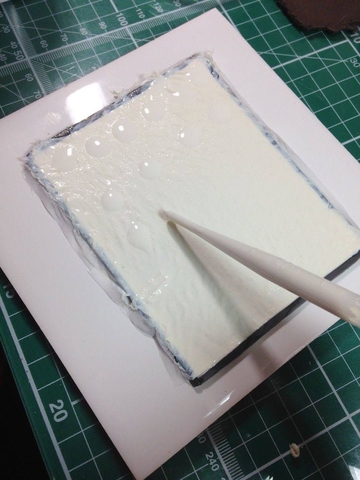
Gently lift the tile and pour the latex slowly into each corner of your frame
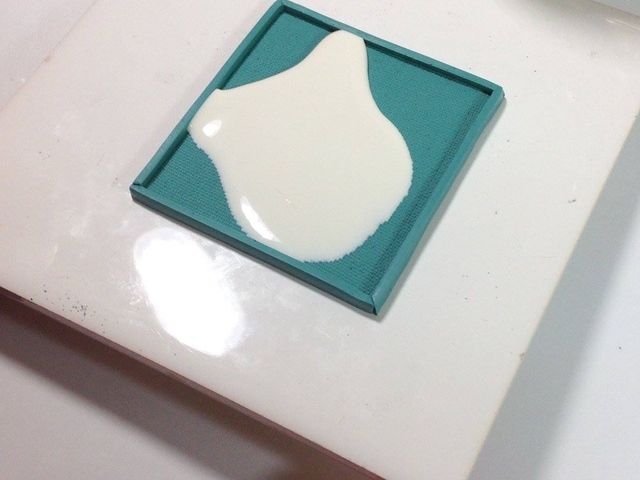
Add more latex if there is not enough to cover the entire area. I prefer to keep the latex sheets thinner than fatter you can always build the layers of latex to get your desired depth.
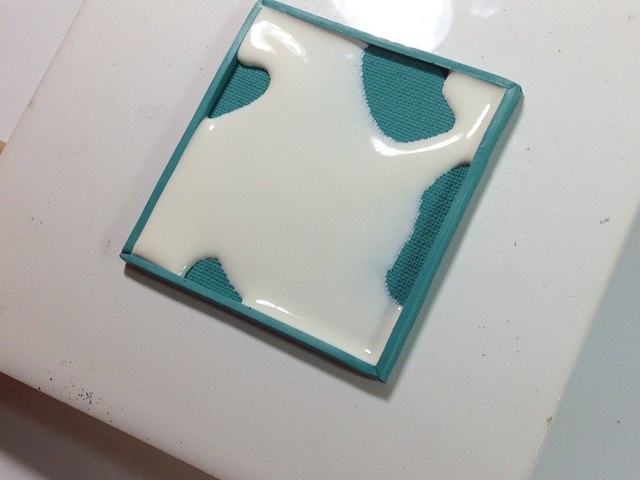
Fully covered tile.
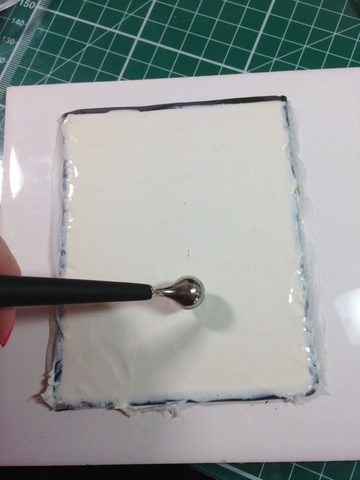
Pop any bubbles that rise to the surface. Set this to one side to cure. Leave it for 8-10 hours to set, I tend to leave them over night
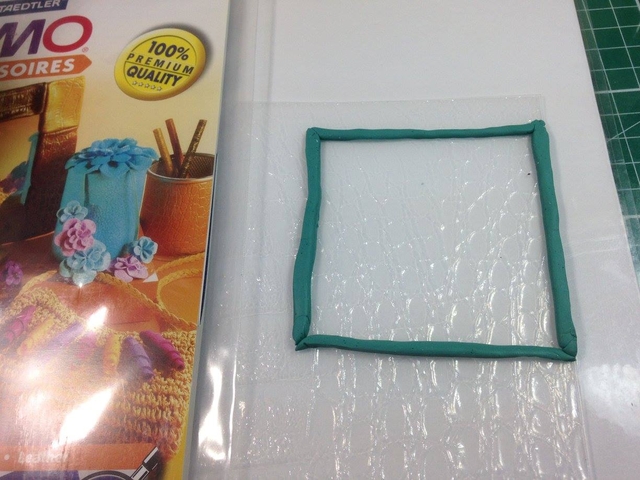
Another option is to frame an existing texture sheet. I do this so I can get a softer more flexible reverse image to use through the pasta machine. Here I simply used some strips of scrap clay to create a border on my Fimo Crocodile sheet
Again, fill the pipette and drop onto the framed image
Pop your bubbles, here I am using a needle

Roll the latex over the clay to cover the area. Pop the bubbles that get trapped - I find there tend to be more bubbles the deeper the original texture is. Again, leave to set overnight or 8-10 hours
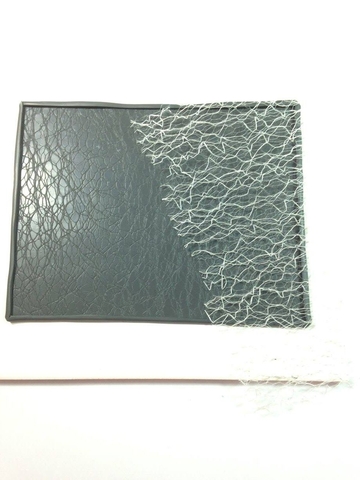
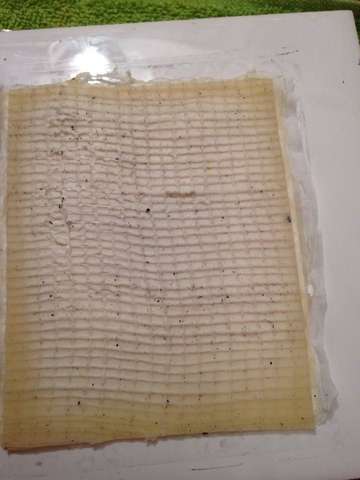
Here is a sheet I made using my favourite piece of webbing, my webbing is getting old and difficult to work with so making a latex copy allows me to keep my favourite texture going a little longer.
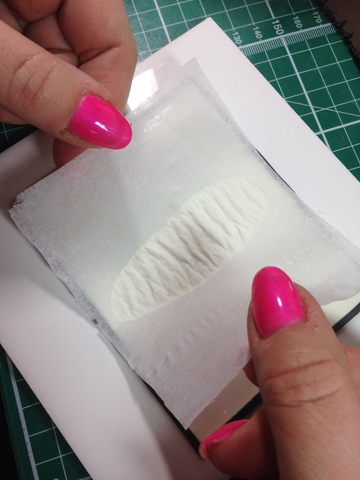
With this sheet I am adding a layer (single 1 ply) of tissue. This reinforces the latex to make a more rigid and durable texture sheet.
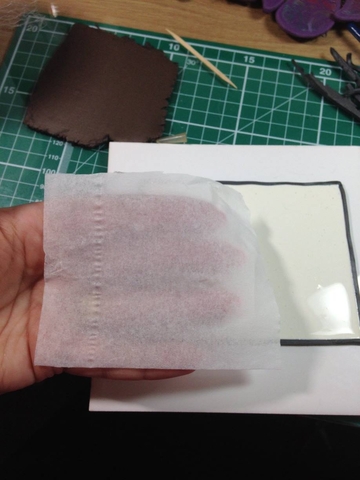
Start laying the tissue down in the middle of the wet latex. this reduced the risk of bubbles getting under the tissue. Bubbles weaken the texture sheet
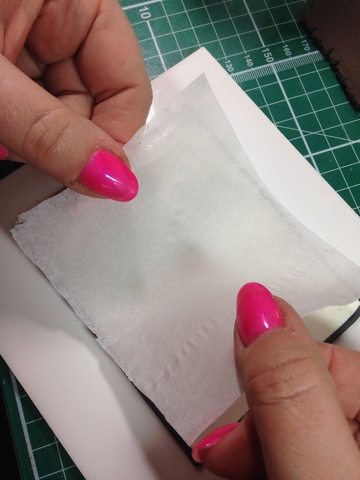
Slowly lay the tissue out.
Very gently press the tissue into the wet latex
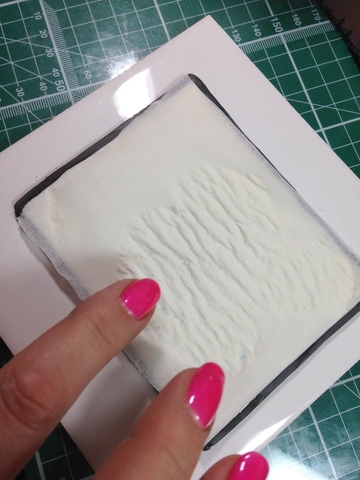
Now Stretch the tissue out over the sides of the frame, you need to get it as taught as you can without it tearing.
Dab it down
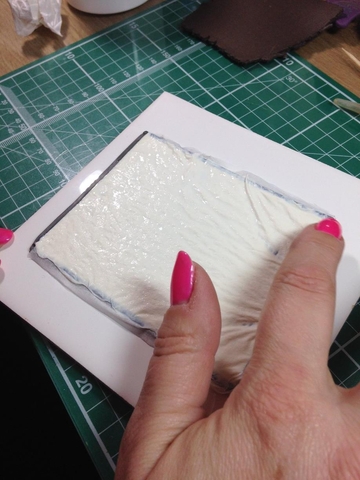
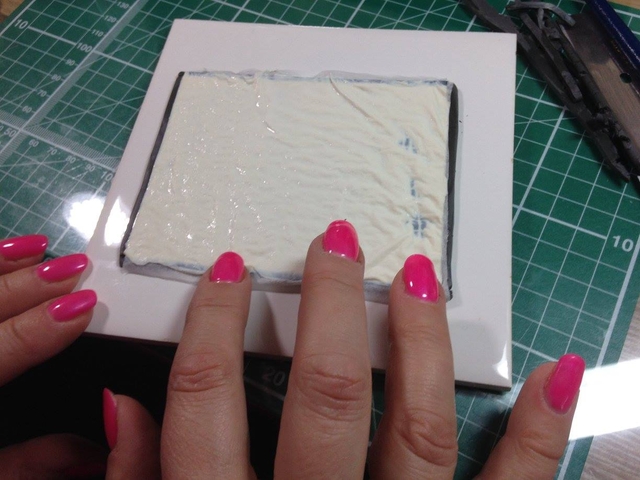
Dot on more latex to form a bond over the top of the tissue.
You can just make out the dots in this image.
Use a large balling tool to join your dots up, making sure the surface is fully covered. Again, leave to set
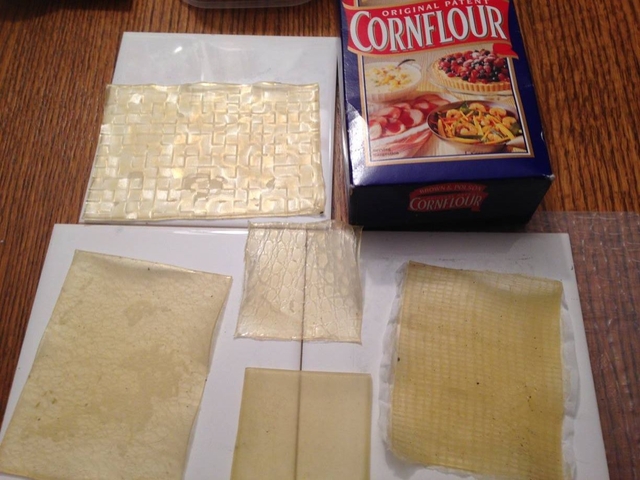
Here is a variety of textures clockwise from the top.
1 open weave cotton
2 Webbing fabric
3 My kitchen tile!
4 Open weave hessian (with tissue reinforcement)
5 Fimo crocodile texture

The Latex turns from opaque to translucent as it cures. Leave it until it is all translucent.

Now done, peel the latex from the uncured clay
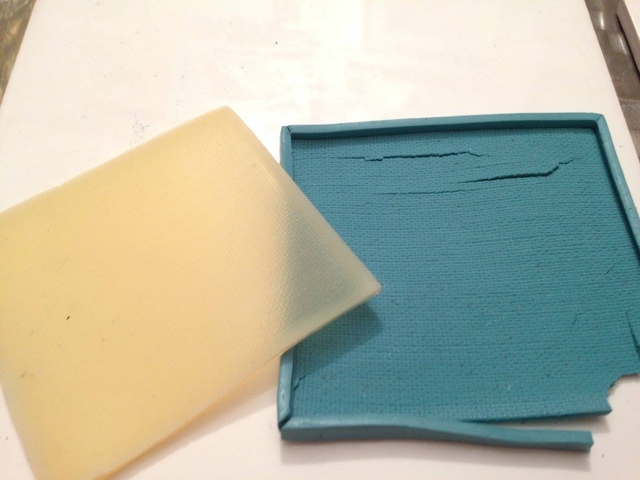
The reinforced sheet takes longer to dry as it is that much thicker, but you can see the lovely deep texture. Simply allow it to harden.
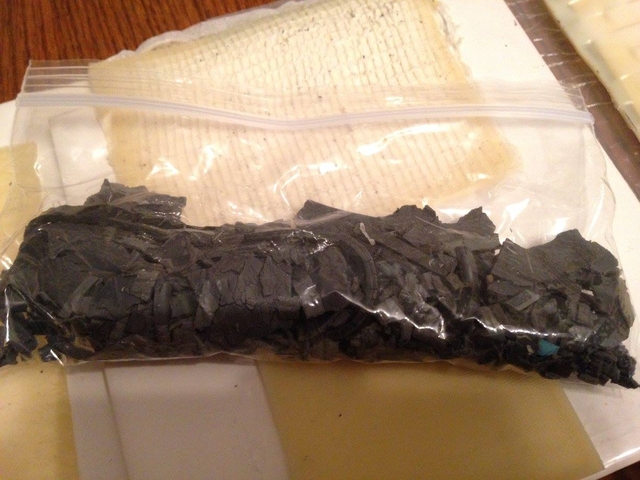
The raw scrap clay can be reworked and used to make more texture sheets although it is not suitable for claying anymore as some of the plasticizers have been leeched out
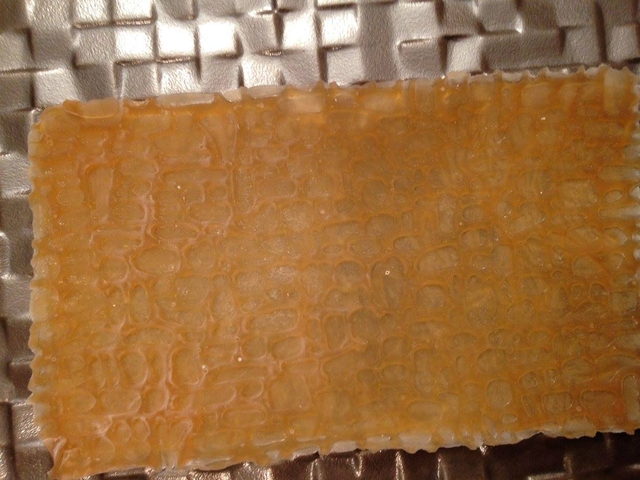
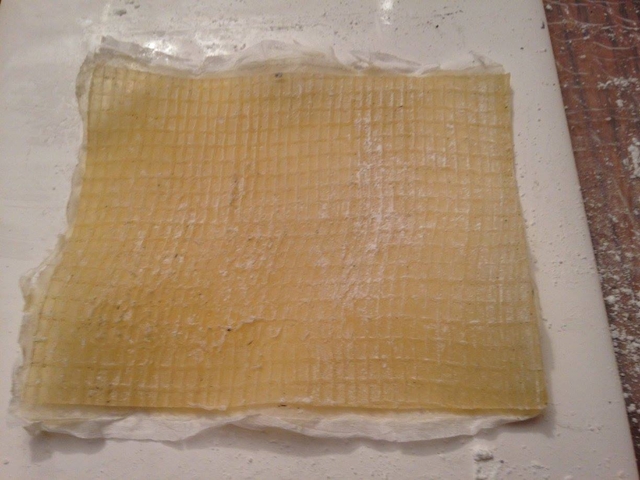
Here is a sheet that has tissue used to reinforce it and was dried over the heater, so its colour changed to a deeper ochre colour
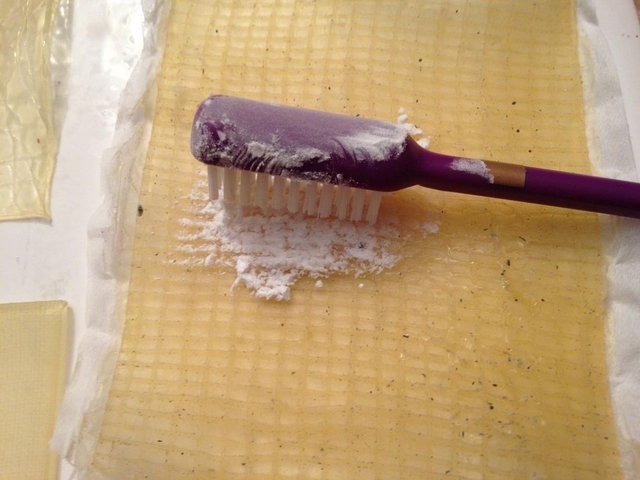
Nearly finished. Add a small amount of corn starch to the front and back of each sheet. This takes the tacky feel away and makes it more durable.
I use a toothbrush as it gets into the pattern and will remove any of the uncured clay from the latex.
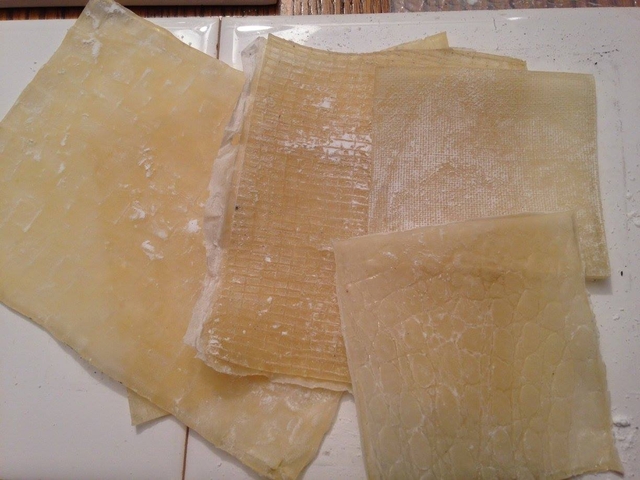
A collection of texture sheets. Check each sheet for the edges, if you used a frame there may be a lip of latex that needs to be cut away.
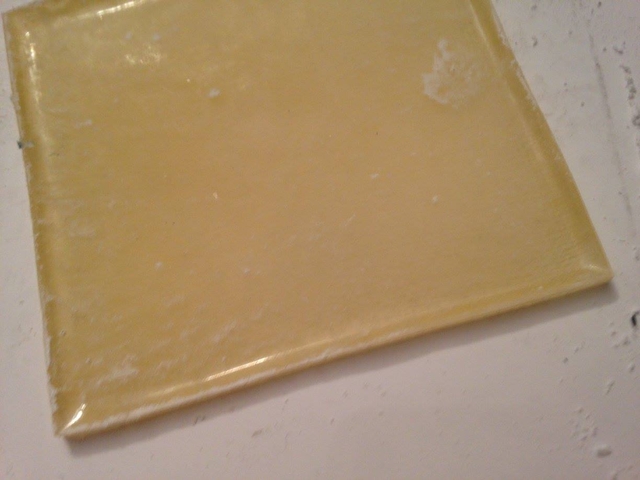
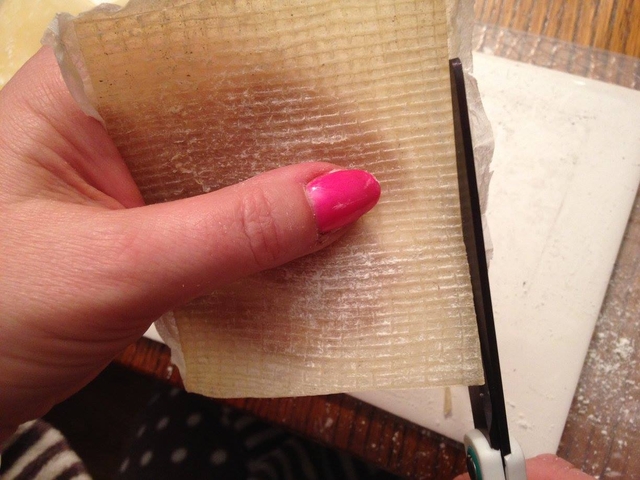
You can see the edge on this sheet, it needs trimming off
On this one the tissue is hanging over the edge
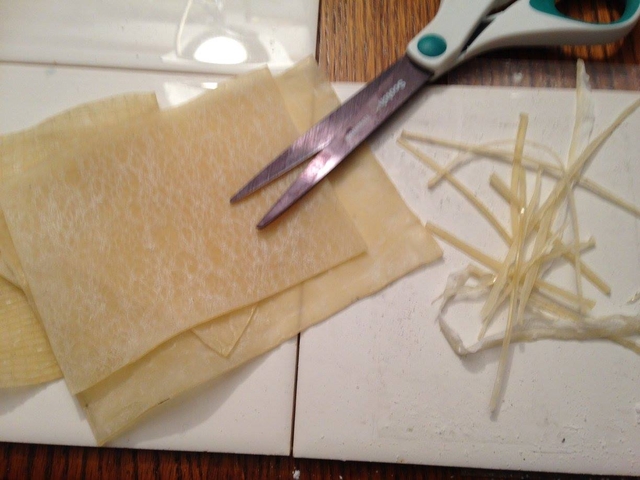
Simply cut it away with sharp scissors
Job done; you are ready to play with your new textures.